Showing posts with label baking. Show all posts

Monday, December 19, 2011

How'd you like them apples.........I mean plums!

I have to share this website will all my thrifty ladies out there, please for your own shopping benefit you simply must go check out Pick Your Plum.... the tag line says it all "get it before your neighbor does".
Its kind of like overstock.com but with way cool craft supplies, the clock is always ticking and they only ever have limited supplies. You do have to sign up to get the deals but they post to facebook or directly to your email whenever there is a new deal available.


To days deal is a little late for your Christmas gift wrapping but the El cheapo in me could not resist the price of the colored butchers twine. By the time I got to the checkout there was only yellow, orange and purple but I'll take what I can get at 65% off, and shipping was the same whether you ordered 1 or 18 so I put the call out and split the delivery fee with another thrifty momma.
You can expect that next time you get a gift from me it will be gorgeously wrapped in this cute stuff. Yellow twine for spring, orange for Halloween and fall and purple for the kids.....so fun.
Not sure what you would do with twine? Check out this blog for some cute ideas.


Thursday, September 8, 2011

Chocolate Zucchini Loaf

Usually at this time of year offers are coming in from all directions in the form of free zucchini. Overzealous gardeners like myself who think that just one plant is not going to be enough....so we plant three and then end up with enough veg to feed a small nation of vegetarians.
I am not one to turn away free food so I have gotten into the habit of freezing and preserving food in abundance for later use, almost to the point of excess (just take a look at my pantry!!)
One of my favourite uses for zucchini is grating it and freezing for later use. I never feel like baking in the summer however with the kids back in school this week it is definitely time to dust off the apron and the mixing bowls.
I managed to bake this morning in between painting window frames and mowing the grass, froze a large Chocolate zucchini loaf, however I soon realised that I would need a little something to take to the PAC meet and greet with our new principal. Ain't that just perfect!!!
Meeting went great, sold some jam to a fabulous customer and got requests for the loaf recipe, what a great start to the school year...so here it is ladies


Chocolate Zucchini loaf.

3 eggs
1/3 cup oil
1 1/2 cups sugar
1 1/2 cups of unsweetened apple sauce
2 tsp vanilla

2 1/2 cups flour
1 1/2 tsp baking powder
3/4 tsp salt
1/2 cup cocoa powder
1 tsp baking soda
1 tsp cinnamon

2 cups grated zucchini
1/2 cup chocolate chips

Preheat oven to 350c
Grease and flour two loaf pans or one 15 x 10 Pyrex baking dish.(I prefer the Pyrex and the cake cooks quicker and more evenly)

Cream the eggs, sugar, apple sauce, oil and vanilla in a mixing bowl.
Add zucchini.
Sift the dry ingredients and add.
Fold in the chocolate chips.

Bake for 50 minutes in loaf pans or until a tooth pick comes out clean.
Baking time varies depending on the size of your baking dish. So check after 20 minutes with a tooth pick.

This loafs freezes very well and I actually prefer the moisture of the cake after it has been defrosted.
The applesauce helps to cut down on the fat and oil content...so don't feel too guilty when you have your second or third piece with your morning cuppa.

Enjoy*

Wednesday, July 13, 2011

This one's for you Stacy

So, it's a busy week here at the Simpson Ponderosa.
My wonderful friend Dana Banana from Australia is coming to visit on Sunday so my house needs to be gutted and put back together all sparkly and clean, I really need to go to the dump, the raspberries are almost ripe which means jammin is in my near future.
But priorities my friends, I have a ladies night to attend tonight and an appy that needs to be made in order for me to put my feet up, wine glass in hand and get some time with my lady friends.
I happened across a website, I made that,  the other day and I'm yet to take the time to look the whole thing over, but on page one......my heart skipped a beat when I saw this..................


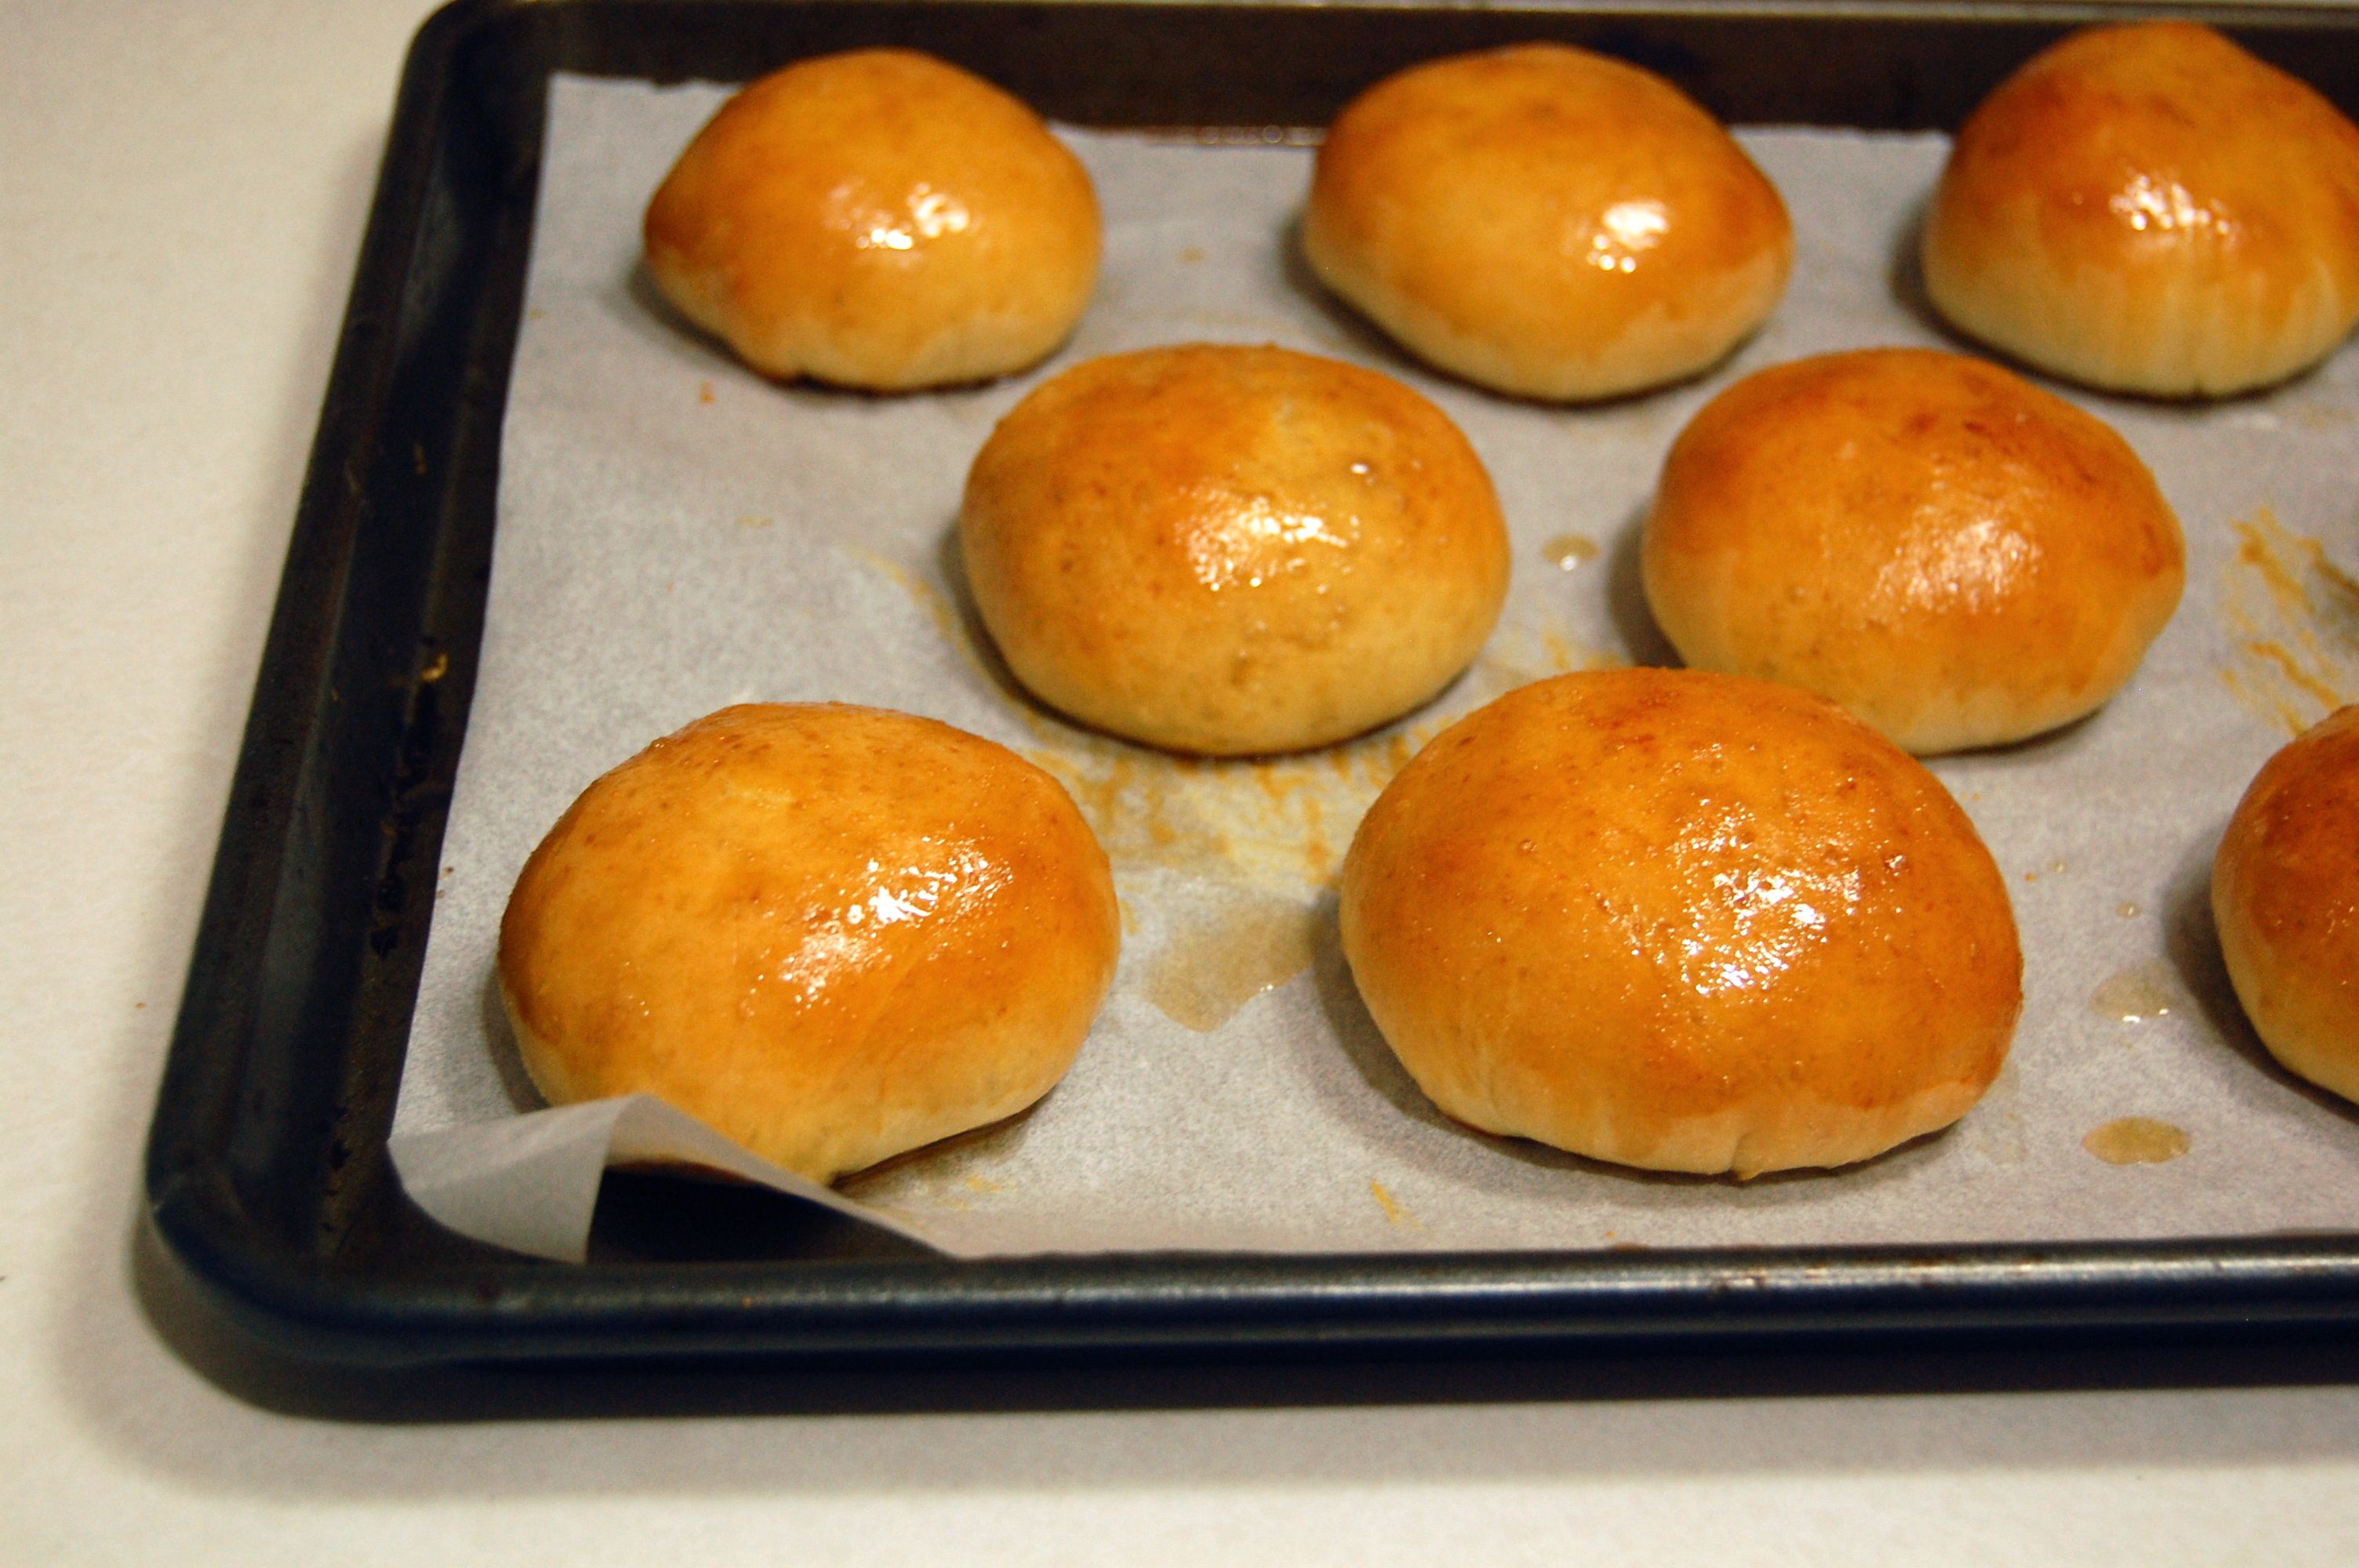
Stacy........do you see this????? PORK BUNS!!!!
I have already rushed out and purchased a pork shoulder, but did not take into consideration the marinating, chilling, mixing, roasting, rising, re roasting, glazing time factor.
So sorry ladies...NO PORK BUNS FOR YOU!


Mmmmmm, my mouth is watering just looking at them. OK, back to work, I will let you know how they tasted when I get around to making them, or if you're lucky you might get an invite to come eat them with me.


Thursday, March 17, 2011

Cookie pops and book worms.

Last night I helped run a bake sale at the elementary school for the annual "Battle of the books". Zoe has entered this fun event for the last two years, anything to get her reading more books is a bonus as far as I am concerned. She loves reading but having someone else pick the books is fantastic, it's like a tween version of my adult book club.
Her team didn't win but they had a fantastic time which makes all the effort worthwhile.
So I baked my butt off yesterday, green jelly slice for Saint Patrick's day, lemon cupcakes with mango frosting and chocolate mint cookie pops.
I love bake sales, seeing all of the fun and fantastic things other people create, some healthy and some not so healthy (mine). A big thank you again to all the wonderful ladies who contributed to the sale.


Isabelle's yummy beer buns were a hit with the ladies. I must have this recipe Isabelle!!!!
And her chocolate cookies, a few ended up coming home to my house.


Get a load of these meringue nests with cadbury mini eggs, these things disappeared very quickly. What a cute Easter idea, way to go Natalie.


My treats were the one's all full of food coloring to get the kids all razzed up. Nothing like a hit of green and red food dye to get the kids going!!!


Cookie pops are my new thang!!!


Here's the recipe.

Chewy chocolate sandwich cookies (womansday.com)

Recipe Ingredients

2 bars (4 oz each) bittersweet chocolate, broken into 1-in. pieces
2/3 cup sugar
2 large eggs
2 Tbsp butter, softened
1 tsp vanilla extract
1/2 cup all-purpose flour
1/4 tsp each baking powder and salt
1/2 cup mini–semisweet chocolate chips


Mint or Coffee Buttercream Frosting


Recipe Preparation


1. Heat oven to 350ºF. Line baking sheets with nonstick foil or parchment paper. Put chocolate in large glass bowl. Microwave on high 1 minute, stirring every 20 seconds, until chocolate is melted and smooth.


2. Stir in sugar, eggs, butter and vanilla; mix well. Stir in flour, baking powder and salt until blended. Stir in mini-chips.


3. Drop level tablespoons 11/2 in. apart onto prepared baking sheets. Bake 10 minutes until cookies are puffed and set. Cool on baking sheet 2 minutes before removing to wire rack to cool completely.


4. For each sandwich, spread 1 Tbsp buttercream frosting onto bottom of cookie; add a popsicle stick, coffestir stick or lollipop stick,press another cookie on top. Refrigerate in an airtight container with wax paper between layers.


Buttercream Frosting.

 
3 oz cream cheese, softened
2 Tbsp butter, softened
2 cups confectioners’ sugar
1 Tbsp milk
1⁄4 tsp vanilla extract


Recipe Preparation


Mint Use 1⁄4 tsp peppermint extract instead of vanilla; add a few drops of green food color.
Coffee Dissolve 1 Tbsp instant coffee in 1 Tbsp hot water; add instead of milk.
Apple Instead of milk, add 1 to 2 Tbsp apple juice until spreadable.

Sunday, March 13, 2011

Flour less peanut butter cookies.

I have to be honest here, I am not a fan of peanut butter flavoured things, Reese's peanut buttercups make me gag....too much peanut....however today I made some cookies that even I enjoyed.


I'm sure my family thought all of their Christmases had come at once as I'm also not a cookie person, but to avoid another trip into town for school lunch supplies I hit my recipe stack full of untested recipes. I think I may have found a keeper, this recipe has only four ingredients, all of which are a constant in my pantry...peanut butter, brown sugar, eggs and baking soda.
All things considered I was feeling pretty proud of myself today until I remembered that peanuts and school do not mix. So I will pick another recipe tonight that is more school friendly and bake while the kids are in bed.

For now here's the cookie recipe that's a keeper! Flour less peanut butter cookies.

2 cups of smooth peanut butter
2 cups of brown sugar
2 eggs
2 teaspoons of baking soda

Preheat oven to 350f.
Beat peanut butter, sugar, eggs and baking soda for 2 minutes or until smooth and blended.
Drop level tablespoons of dough 2 inches apart onto ungreased baking sheet. bake for 10 minutes or until cookies are slightly golden. Cool for 5 minutes on the baking sheet, remove to wire racks and cool completely.

The cookies were great just like that but I couldn't help myself and made a chocolate ganache for half of the cookies to push the yummy factor way over the edge.

Thursday, February 24, 2011

Kiddo cakes

Every year our little elementary school here in Lavington is host to a "Fun Fair" complete with face painting, games, balloons, popcorn and our favourite THE CAKE WALK.
It's a little something to shake off the winter blah's and let the kids go wild and have some fun.
The kids get to enter a cake into the decorating competition and later on in the day the cakes become prizes in the cake walk. There's usually a pretty good chance that one of your kids will come home with a fantastic one of a kind, kiddo decorated cake. Granted, with Marley being in kindergarten this year mommy had a little control situation with letting her do the whole cake on her own....and by little I mean major melt down....I tried to not help but it's IMPOSSIBLE.
I'm one of THOSE mommies who just can't keep her hands to herself when it comes to creating..I may need to seek help at some point but for now my kids haven't noticed how much of a freak mommy is. So, we'll just leave it at that for now.

Here's what we came up with.


Zoe's garden of earthly delights.


Complete with wild life.


And My Marley's cute owl. I love him.


I was super impressed with the powdered food coloring I picked up at the Oriental Supermarket in Kelowna, love how bright the red turned out, that for sure is going to stain something!!!


Hope to see all you Lavington folks out and about at the fair to support our wee little school.

Wednesday, February 16, 2011

DIY candles.

I just have to get my butt off to Kelowna sometime soon and go visit some of my favourite stores. There are so many craft projects I want to tackle but am seriously lacking in supplies.
A quick stop at Michael's would be nice, followed by a shopping trip to the Oriental supermarket.....and sushi for lunch of course.


I spied these cute candles on the Martha website and have decided I absolutely must make some. They look so easy but what a great way to personalise a cake without(hopefully) spending too much moula.


I'm picturing them on cupcakes for a little tea party with the girls, or maybe something spring themed. So not only do I need beeswax sheets but also now I have an excuse to go buy some cute cookie cutters.

The hubby enjoyed his yummy lemon meringue birthday pie...thanks for asking. Nothing like feeding your children sugar at 8pm and then telling them to go to bed.  There's a lesson in there somewhere.tootles
kj

Tuesday, February 15, 2011

Happy Birthday oh hubbie of mine.

Today is the day that I am no longer a cradle snatcher, my hubby is now officially the same age as me. No more cougar jokes.....not until October.

So happy birthday to you my love......here's to many more.


I baked a little extra love into his favourite birthday cake pie, no it's not arsenic!!! He doesn't need to know that it's there.....but I know and that's all that matters.
I really put my heart and soul into his lemon meringue pie.
 

We are having quiet night tonight, just the family as I'm sure the phone will be ringing with birthday wishes for the big fella.
I picked him up a well deserved GC for a full body massage at the health spa at the Okanagan Valley College of massage therapy. 
$30 for 1 hr of touchy feely massage....... I'll let you know how his experience was.


On a completely separate topic...I worked my first shift today at Simply baskets ( I still think I should be paying Brenda to let me come hang out there). It was fabulous, I really feel at home there and can't wait to sink my teeth into the workings of the store. Met some lovely regulars, the coffee was great as was the company and I'm looking forward to another day at the shop tomorrow.


Wednesday, February 2, 2011

Meat pie #2

The search continues for the perfect auusie meat pie recipe to keep the home sickness at bay. Why is it so hard???? Anyone out there with a kick ass authentic recipe?


The hubbie did an amazing job on the filling, but not quite authentic enough for my fine tastebuds. Zoe was my little pastry helper and did a fantastic job, she said she felt like snow white making pies for the dwarfs????????


 Here's a few pics to make you all salivate and want to make a meat pie of your very own.....remember to pass on the recipe if its a good one.


Happy baking y'all.

Sunday, January 23, 2011

Short cut lamingtons

I know, I know.......I've been a bad blogger. Sorry everyone, can I make it up to you with a recipe? I promise it will be fun and even more importantly..very, very messy.
You up for it?

All my Aussie friends, pay no attention to this one as I'm sure you can make lamingtons with your eyes closed..UNLESS...you have not discovered how much easier it is to cheat and use a cake mix.


LAMINGTON: a sponge cake in the shape of a cuboid, coated in a layer of traditionally chocolate icing then desiccated coconut. Lamingtons are sometimes served as two halves with a layer of cream and/or strawberry jam between, and are commonly found in Australasian outlets such as cafes, lunch bars, bakeries, and supermarkets.


So to start with simply follow your cake mix instructions and bake in a 9 x 13 pan.
Once you cake has cooled slightly, wrap it in plastic wrap and place in the freezer for a few hours, this will make slicing the cake easier and it will also hold together better when dipping it into the icing mixture.

Unfortunately I didn't take pictures of the dipping and coconut slathering so you'll just have to trust me and use your imagination on this one. Alternately you could also follow this link to a more detailed explanation.

For the icing you will need:


•500g (1Lb) icing sugar
•1/3 – 2/3 cup of cocoa(sifted)
•15g (1/2oz) butter
•1/2 cup milk
3 cups of dessicated coconut (sweetened)

Heat the milk slightly and add butter, stir until butter is melted. Add icing sugar and cocoa to the milk mixture and stir until combined. If your icing is runny, then good, that's what it's supposed to look like.

Now this is the messy part, be warned though. It VERY tempting to lick your fingers at this stage of the game...be strong and wait till the end!!!
Take a wee small square cake and dip it into the chocolate icing making sure to cover all sides, quickly take the square, (I used chopsticks for this part)and roll it in the coconut, making sure to cover all six sides, gently patting the coconut into the icing.
Place on a wire rack to firm up. Once you have dipped and covered all squares feel free to lick your fingers, savour the moment.
I like to keep my lamingtons in the fridge, it makes the icing firm up and having the coating of chocolate and coconut around that cake keeps it nice and moist.


Get a load of that will ya~!!!!!!!!!

Thursday, December 23, 2010

Butter tarts in a pinch.

So you're invited to dinner at a friends house unexpectedly and happen to have, by some crazy miracle, a package of phyllo in your fridge already defrosted......so of course you whip up some butter tarts...cos you can!!

I normally go whole hog and make shortcrust pastry and spend hours making these puppies but today time is of the essence and I have none, these little guys were super quick to throw together and super delicious.
The filling for this recipe was given to me by the German queen of butter tarts, gramma Love. I'm not too sure that she would want me to share the recipe, so consider this a Christmas gift from me to you!!!!

So first make your filling while your phyllo is on the counter reaching room temperature. Preheat oven to 350C.
In a heavy saucepan melt 1/2 cup of butter with 2 cups of brown sugar over medium heat.
Add 1 teaspoon of vanilla and 2 tablespoons of white vinegar.
Remove from heat.
On the side in a small bowl take 2 eggs and give them a quick whisk with a fork.
Add eggs to the tart filling and quickly stir through so you don't end up with scrambled eggs.
I like to keep the filling on the stove at a low temperature to keep it warm.

I used two sheets of phyllo, brushing with melted butter between each layer.
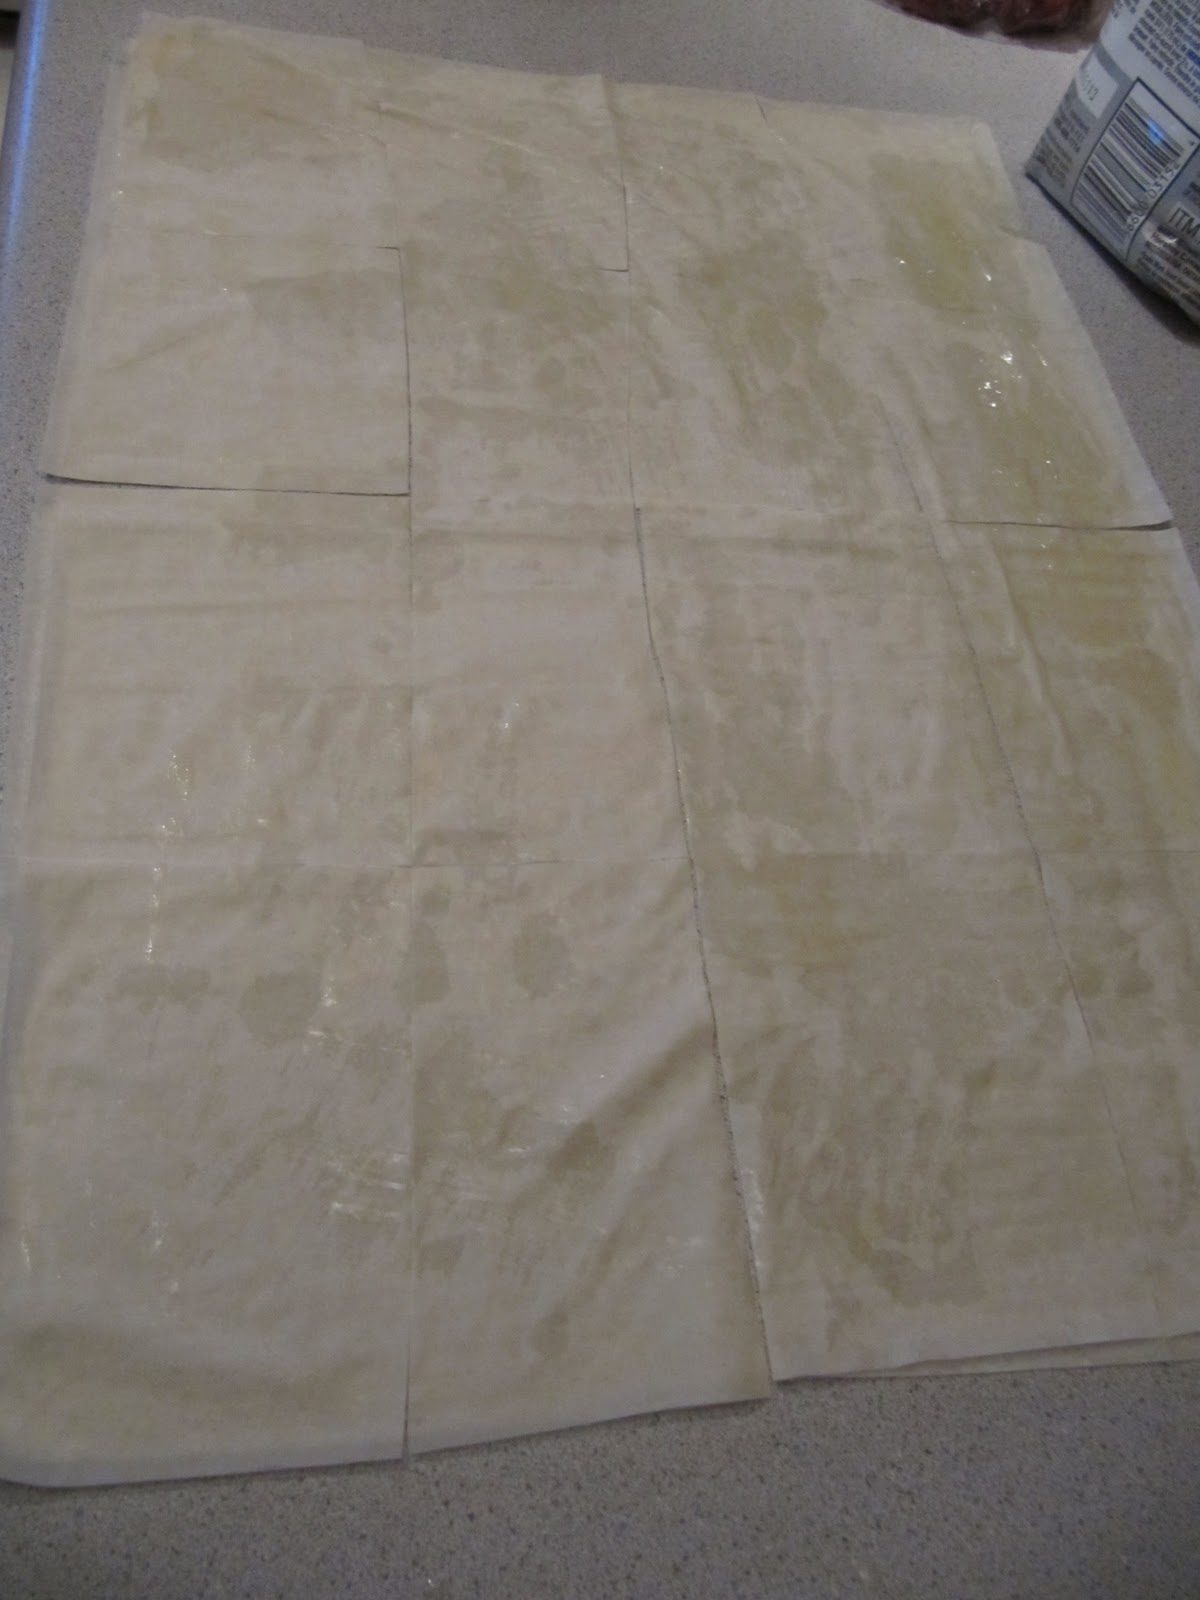
Using a pizza cutter, roughly cut into 16 squares, depending on your muffin tins, you may want them smaller or larger.
I ended up cutting them smaller than in the pic below and layering them for better coverage.


Pop your phyllo into muffin pans and add enough filling to come just below the edge of the pastry. The filling will bubble up a little so be careful not to over fill them.
I used mini muffin pans so theses suckers cooked in around 9 - 10 minutes. Keep a close eye on them as the phyllo will burn quickly.


This recipe makes about 50 little mini muffin sized tarts, take into account the ten or so that you will eat when they come out of the oven.
Enjoy, hope you all have a great Christmas.

Monday, December 20, 2010

Ho Ho Ho

It's that time of year folks, the count down has begun. For some of us the silly season can be a little exhausting to say the least.


I say the only thing to do is keep your sense of humor in check, Stacy  and Isabelle, I know you know what I mean. Things can get a little nuts this time of year.


 I'm getting in my Christmas wishes early in the hope that if I get caught up in the craziness of Xmas, you all know that I'm thinking of you and wish you all well.
I have many more cookies to bake and gifts to make, I know you're all in the same boat, take a deep breath and remember what the season is really about..............TURKEY!!!!!
In light of recent disturbing, rotten Roof Dr related events, we are taking stock of whats important. Family time and the simple gift of giving........what more do you need?

Monday, November 15, 2010

Banana - Vanilla bean - Chocolate chip pancakes

Super bargain....a whole jar of pure vanilla bean seeds for $9.99....gasp!!!! I found these at HomeSense the other day and after doing the happy dance in the middle of the store I couldn't wait to get home and try them.
 I was a little suspicious as to whether they would have as much oomph as a fresh split bean so I tried out a new pancake recipe this morning....pleasantly surprised!!
On the jar it says 1/4 teaspoon of these babies is the equivalent of 1 teaspoon of vanilla extract.


Aren't they beautiful?


 I mixed them in with the mashed banana and let them sit for a few minutes.


Topped the pancakes off with a few dried bananas and some pure maple syrup.....mm mm I'm hungry again just looking at them. These would go fabulously with a toasted marshmallow milkshake from Joy the baker.

RECIPE: (adapted from The all new Good Housekeeping cookbook).

1 Cup all purpose flour
2 tablespoons sugar
2 1/2 teaspoons baking powder
1/2 teaspoon salt
1 1/4 cups milk
3 tablespoons butter, malted
1 egg, lightly beaten
1 banana, mashed
1/4 tsp vanilla bean seeds
1/2 cup or so chocolate chips, 5ish per pancake

Combine dry ingredients in a bowl, add milk, butter, egg, banana and vanilla seeds,(mix seeds with banana mash).
Stir until just combined.
I'm sure you all know how to cook a pancake so I'm not going to explain the rest of the process, you're too smart for that!
When cooking pancakes, before the big flip, sprinkle with chocolate chips. You could always add the chocolate chips to the batter too if you like.
I had some dried banana chips on hand so I added them as garnish with maple syrup.

Now get in your cars and get to HomeSense!!!!


Yumminess...

I've been ogling the wonderful goodies over at Joy the Bakers blog, hoping to find some yummy recipes for Xmas gift goodies.  I found that... and then some.
If you haven't already seen her blog then you are truly missing out, you must stop what you are doing ( after you've finished reading this of course ) and go take a look. If you didn't feel like baking today then you will after looking at her fabulous recipes, and she's a great read to boot.
Great photography helps, not that she need it but it does get me motivated to get out of my rocking chair and into an apron.

I'm thinking about making the toasted marshmallow milkshake for breakfast...why not?

Sunday, November 14, 2010

A series of unfortunate events....

Did you ever have one of those weeks where nothing goes quite as you had planned?
I tried a bunch of new recipes this week, cauliflower soup...sounded foolproof.......NOT!
It ranked up there with my biggest soup failure ever!!! Even the dog wouldn't eat it!

Salsa Verde....yummy right? NOT!
My friend Isabel gave me some super yummy tomatillos from her garden..so why not try a new recipe I say!
My gals pals and I had the yummiest Salsa Verde in a little hole in the wall restaurant in Vancouver in September. I've been dreaming of it ever since..so I made some....FAIL!!!


What's a girl to do? Just when I thought my chef mojo had abandoned me completely I was rescued by a pie... and not just any pie mind you. Just the cutest damn pie in the whole wide world.


I found this fantastic little pocket pie maker thingy a while back at the superstore for $4.99. Put in in my overflowing Tupperware cupboard and kinda forgot about it...until today...when I needed it the most.
Check it out!! I guess other stores sell similar products, like this heart shaped one from Williams Sanoma, but double the price.
Best 5 bucks I've ever spent lately!


I used store bought puff pastry and an apple and raisin pie recipe ( it comes with a recipe but I altered it slightly ) and Bob's your uncle!!!

Zoe has her bestie over for a sleepover tonight and I can hear them downstairs munching on their sweet treats as I type. I will be making more of these for school lunches, if anyone wants to join me for a baking session....let me know.

Friday, October 29, 2010

Halloween snackies.

I have two Halloween parties, one with kids and one without to go to this weekend, and need to take a snackie for both so I made this cute little dish just now and wanted to share it with you before all the festivities have come and gone......now you can all be as fantastic as me bahahahaha!!!!!!!
It's not baked yet but I don't imagine I'll be thinking to use my camera later to show the finished product all hot and gooey. I am having a cheat weekend and allowing my poor body some carbs, so I may crawl under a rock in shame for a while!!!!


The kids got to dress up for school today and had a chance to test drive their costumes before Sunday night, I'm a little worried about the warmness factor for Halloween night, I may need to pull a rabbit out of my hat to deal with that!!


Dace and I are going as a famous couple from the 80's..........any guesses?? HINT.......that's the back of my head!


Anywho, here's the recipe. Well its not really a recipe, more like instructions to yumminess.

Baked brie with cranberries and carmelised onions.

I purchased the largest wheel of brie I could find, you could go smaller, but really, why would you????
So its really easy....first carmelise some onions with lots of butter, olive oil, a little brown sugar and some port or balsamic vinegar. Get them all yummy and allow to cool.


I  used store bought PC brand cranberry and orange jelly, spread on top of the brie almost to the edge, and topped with the carmelised onions.
Roll out one package of puff pastry large enough to cover the top and sides of the brie and tuck as much as you can underneath, you want to encase the while thing if possible.
I trimmed a little of the pastry before this step to use for the web and spider.
Wrap up your brie as best as you can and decorate to your liking.
Bake this for about 15 minutes I'm thinking around 350c.

Happy Halloween everyone!

LinkWithin

Related Posts Plugin for WordPress, Blogger...